
Beginner's Guide
ON THIS PAGE
Pixel Starships 2 runs in a loop. You fight other players and take their Minerals and Gas. Minerals build and upgrade rooms and recruit crew, Gas levels up your crew and pays for some room upgrades. A strong ship with a strong crew wins more battles and brings home more resources. Meanwhile your Drones mine materials on planets, the materials are crafted into items, and the items sell to other players for Starbux.
This guide follows that loop in the order a new player runs into it, from choosing a faction and sending out the first Drones to prestige. Read it once from top to bottom, then come back to the chapters you need.
Getting started
Faction
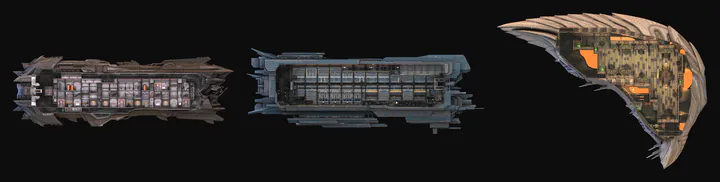
Your first decision is also your longest: a ship's faction can never be changed. There are three, Pirate, Federation and Qtarian, and at the start they are almost equal. Ships of the same level have the same hull HP, and nearly all rooms and crew are shared. The differences build up towards level 10:
| At level 10 | Pirate | Federation | Qtarian |
|---|---|---|---|
| Decks | 9 | 9 | 22 |
| Cells | 250 | 249 | 281 |
| Ship HP | 28 | 37 | 28 |
| Crew | 24 | 21 | 21 |
Each faction also has its own turret.
Pirates win by numbers: they carry the most crew, and compact 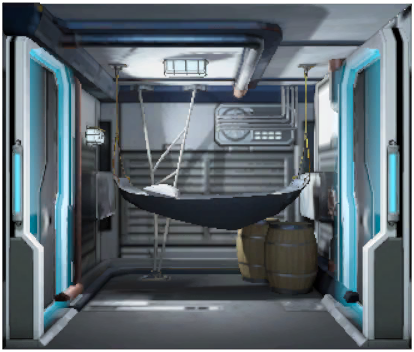 Hammocks instead of bedrooms save space, and at level 10 they get the
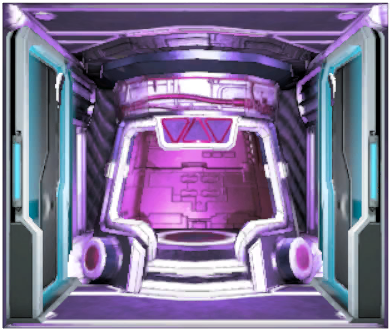 Boarding Pod, a capsule full of boarders. The Federation builds the toughest ship, a third sturdier than the others thanks to the
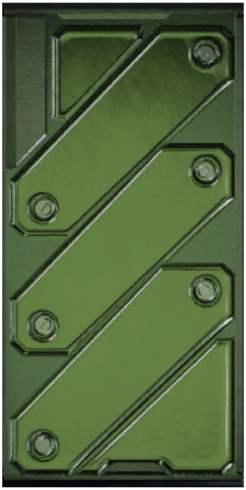 Hull Reinforcements it can buy from level 6, but pays with a cramped hull and fewer crew; at level 10 it gets the
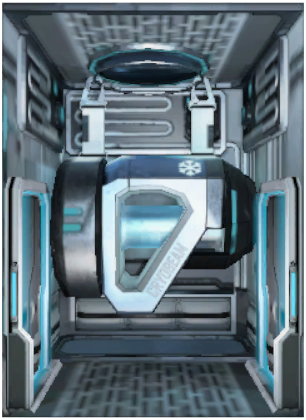 Cryo Beam, a freezing beam. Qtarians get the roomiest hull and, at level 10, two
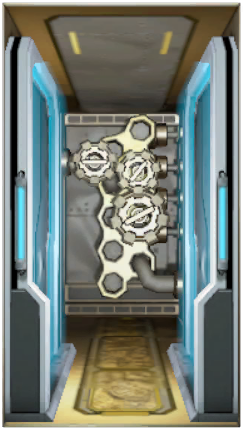 Hydraulics Valves that together add up to +54% damage to a neighbouring turret, but the hull is tall: crew spend a long time riding lifts, and repairs arrive late.
Each faction also has its own crew: the Pirate Brute, the Federation Officer and Marshal, the Qtarian Engineer, for example. Recruiting for Minerals or Starbux never gives you another faction's crew.
If the choice is hard, remember that one account can hold three ships (three game profiles) of any factions. Why that matters beyond curiosity is explained in the market chapter.
Minerals, Gas and Starbux
 Minerals and
 Gas come from battles against other players. Win and you take part of your opponent's stock, lose and you give up part of yours. Mineral and Gas collectors exist in the game, but almost nobody builds them: battles pay far more. How much you can carry home is capped by your storage, so after every ship level up, upgrade
 Mineral Storage and
 Gas Storage first and everything else after.
Minerals pay for most rooms, ship levels, crew recruitment and the opponent search. Gas goes mostly into leveling crew, and by the mid game it is the currency that matters most: taking one crew member from level 1 to 40 costs about 29 million Gas, and one and a half times that for a Legendary. Levels up to 6 are free. The  Advanced Training research cuts the price by up to 35%, and you should research it without fail.
 Starbux come from the VIP subscription and in-game purchases. Without spending money you earn them on the market by selling items crafted from mined materials to other players. Starbux pay for the Beer Draw, market purchases and speed-ups. Don't spend them on speeding up construction or on the Beer Draw: they have a much better use.
Spend your first Starbux on Drones. A Drone builds and upgrades rooms or mines materials on a planet, and every Drone works on its own task alongside the others. The  Advanced Engineering research raises their number to five:
| Drones | Starbux |
|---|---|
| 2 | 50 |
| 3 | 350 |
| 4 | 1,000 |
| 5 | 2,000 |
That is 3,400 Starbux for all five. Nothing else speeds up your progress as much.
First research
The 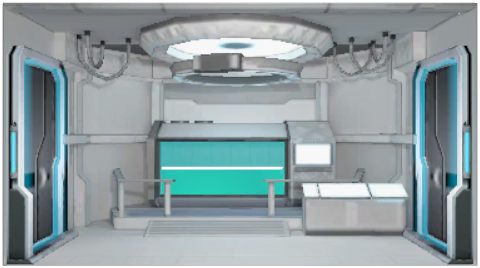 Laboratory appears at ship level 3, and its level can be at most your ship level minus two. Four research topics matter at the start:
 Beer unlocks the Beer Draw, the Advanced Training you already know makes leveling cheaper,
 Galaxy Navigation lets your ship travel between star systems, and
 Intergalactic Commerce opens the player market. Everything else the Laboratory offers is listed on /research.
Research costs Research Points. Crew earn them as they level up, covered in the crew chapter.
Mining, crafting and the market
For players who don't spend money this is the main source of Starbux: Drones mine materials on planets, the materials are crafted into items, and the items are sold to other players.
Mining
Mining is a mission on a planet, available from Ship Level 3. It takes one Drone, one run lasts 3.5 hours, and one Drone works one planet, so more Drones mean more planets at once. An idle Drone is lost mining. To fly beyond your home system you need the Galaxy Navigation research.
There are seven materials:  Iron,
 Carbon,
 Titanium,
 Gold,
 Silicon,
 Dark Matter and
 Uranium. Most often a planet gives material fragments, and 7 fragments make one unit. Fragments can't be sold on the market. What is mined where is shown on the galaxy map and in the mining table.
Crafting
Crafting in Pixel Starships 2 is free and instant: an item is made from other items, with no Gas, no Minerals and no waiting.
For your own ship, craft 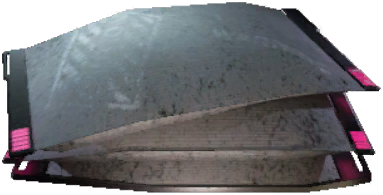 Sandbags first: they are the most useful room module, covered in the next chapter. A Sandbag is made from 9 Silicon, that is 63
 Silicon Fragments which many planets give.
After that, equipment for your crew, and everything else goes up for sale. Don't sell what you need yourself. The recipe of any item is in the item database.
The player market
The market is opened by the Intergalactic Commerce research: 1, 2 or 3 listings at a time, depending on its level. The price is set in Starbux per item, at least 5; a listing stays up for 48 hours, and the market takes 20% of every sale, or 10% for sellers with an active Monthly VIP subscription. The market's main rule: if the same item is already listed cheaper, nobody can buy yours at a higher price. So check current prices before you list. What is on sale, at what price and how fast it sells is on the market and sales pages.
Sooner or later everyone runs out of item space: materials, fragments, equipment and modules all take room in your hold. The 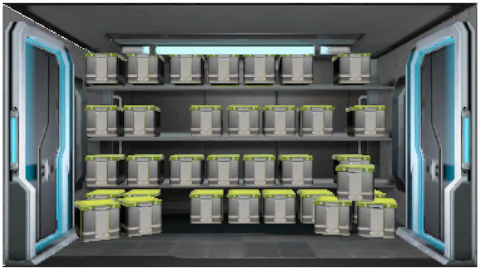 Warehouse, built from Ship Level 6, adds space for items: 50 at level 1 and 900 at level 10. Build it before your hold is full, not after.
The game has its own shop too, the 7-Mart. It has four sections (Weapons, Gear, Modules, Pets & Others), its stock changes every 4 hours, and it doesn't sell resources. Prices by section: /7mart/weapons.
Three ships and VIP
Now back to the three ships on one account. A VIP subscription covers all three at once: each gets its own daily 100 Starbux and takes part in VIP promotions, such as crate giveaways. That is why many players keep one main ship and two spare ones, and move Starbux from the spares to the main ship through the market:
- On the main ship, find an item nobody is selling on the market right now.
- List it at a price equal to the spare ship's Starbux.
- Buy that listing from the spare ship.
80% reaches the main ship, the rest goes to the fee. The item has to be one nobody else is selling: if the same item is listed cheaper, the game won't let you buy yours.
The ship
Ship Level
Your Ship Level caps everything else. Each level brings more cells, more rooms of each type, and unlocks new ones. It also sets the highest crew level (four per Ship Level: 4 at level 1, 40 at level 10) and the Laboratory level.
A level up costs Minerals and time and has requirements: rooms built, PvP wins, trophies. The price and build time are the same for every faction:
| Level | Minerals | Build time |
|---|---|---|
| 4 | 6,000 | 2.5 h |
| 5 | 35,000 | 20 h |
| 6 | 150,000 | 2.5 days |
| 7 | 300,000 | 5 days |
| 8 | 500,000 | 7 days |
| 9 | 750,000 | 8.5 days |
| 10 | 1,200,000 | 9.5 days |
Level 10 is the highest level available to players at the time of writing.
The first three levels cost a few hundred Minerals, build in minutes and unlock the Laboratory and mining, so take them right away. After that, don't hurry. A new level gives you more space, but your opponents get stronger too: they are ships of the new level that finished building long ago, while your rooms and crew are not upgraded yet. Level up when every room you use is fully upgraded and your crew, even if not at the level cap, have at least some levels behind them.
Power
Reactors generate power and the other rooms use it. Weapons, shields, engines and hangars work faster the more power they get, up to their maximum. If power runs short but isn't zero, a weapon doesn't switch off, it reloads more slowly: at two bars out of three it needs half as long again. A damaged room can't take full power, so every hit on a weapon also hurts its rate of fire.
Rooms you can't do without
A ship doesn't work without these rooms:
| Room | Why |
|---|---|
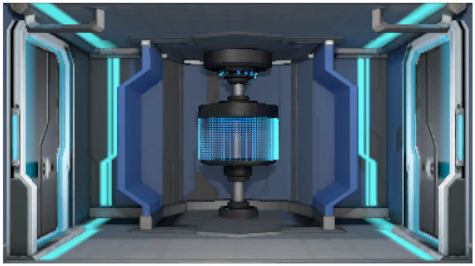 Small Reactor, later 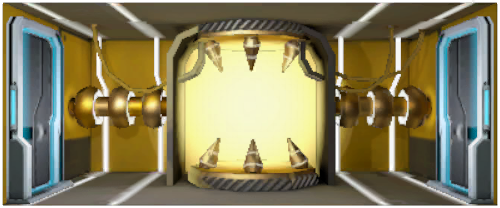 Fusion Reactor |
power for everything |
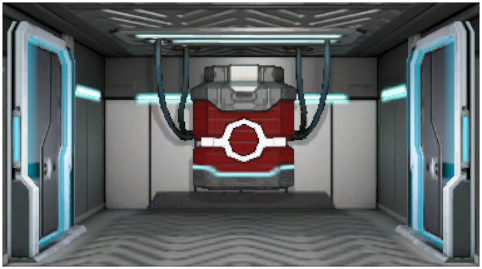 Shield Generator |
a shield that stops enemy cannons and beams |
| Weapons | damage, covered in their own chapter |
 Command Center |
turns on the AI of rooms and crew |
 Life Support |
oxygen for the crew |
 Bedroom |
space for crew |
 Lift |
a way between decks |
 Armor |
protects the rooms next to it |
| Mineral Storage, Gas Storage |
how much you carry home from a battle |
New players often forget Life Support because it does nothing in peacetime. In battle every living crew member uses up oxygen in the room they stand in every second, and Life Support refills it as long as it is intact and powered. Once it is destroyed, no more oxygen comes, the ship's rooms run dry, and the crew start taking poison damage (reduced by BIO resistance). A ship has only one such room, 2×2 in size, and opponents know where to aim: the AI even has a dedicated command for firing at it.
A room holds as many crew as it is cells wide.
Armor
An Armor block reduces damage to the rooms touching it from above, below, left or right. It doesn't work diagonally. If a room touches several armor blocks, their protection adds up. Armor reduces every kind of damage to rooms: physical, armor piercing and fire. No weapon in the game ignores it.
You never have as many armor blocks as you would like, so place each one where it touches several rooms at once. Cover these first: the shield, the teleport (if you have one), Life Support, 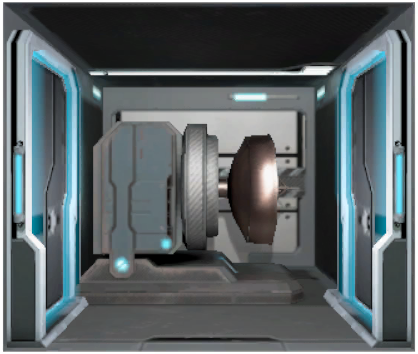 Anti Craft Laser, the hangar and your main weapon.
Room modules
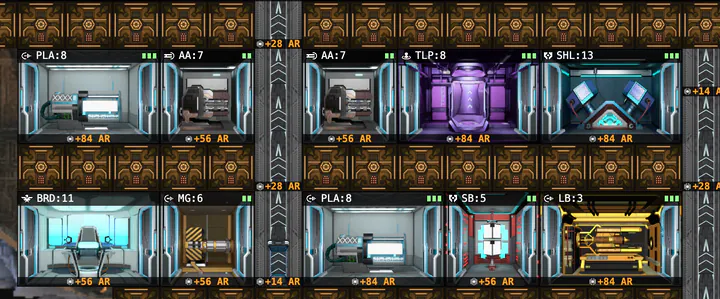
Modules are items you put inside a room: barriers, turrets, mines and sprinklers. Only a room at least two cells tall takes them. Module slots are unlocked by the  Modularization research, and a room holds as many modules as the smaller of two numbers: its width in cells and the limit of your Modularization level.
| Modularization | From Ship Level | Modules per room |
|---|---|---|
| 1 | 4 | 1 |
| 2 | 6 | 2 |
| 3 | 8 | 5 |
The most popular module by far is the barrier. A barrier takes damage before the room it stands in, so it works as extra HP for the room. Fill every room that can take a barrier with them. The first barrier is the Sandbag from the crafting chapter. Each next one is crafted from several of the previous and is sturdier: 5 Sandbags make 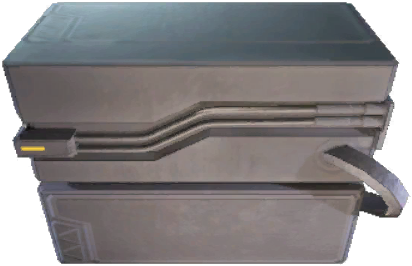 Bricks, then come
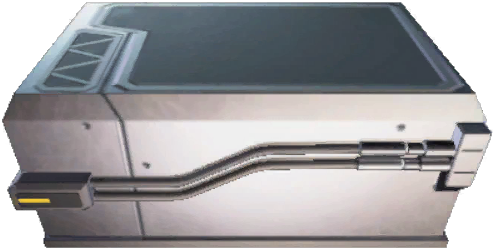 Concrete Barrier,
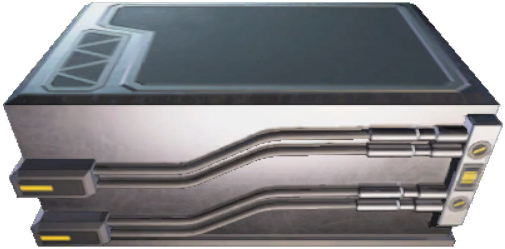 Steel Barrier and
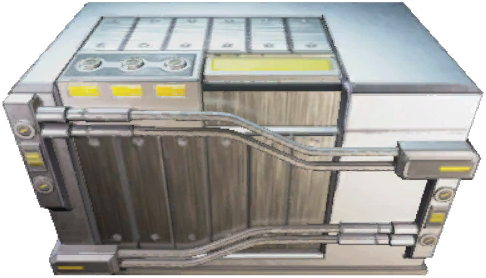 Titanium Barrier.
Turrets and mines work against boarders, covered in the boarding chapter.
Combos: bonuses for neighbours
Some rooms are stronger next to the right neighbours. The ship faces right: the bow is on the right, the stern on the left.
| Room | Next to | Bonus |
|---|---|---|
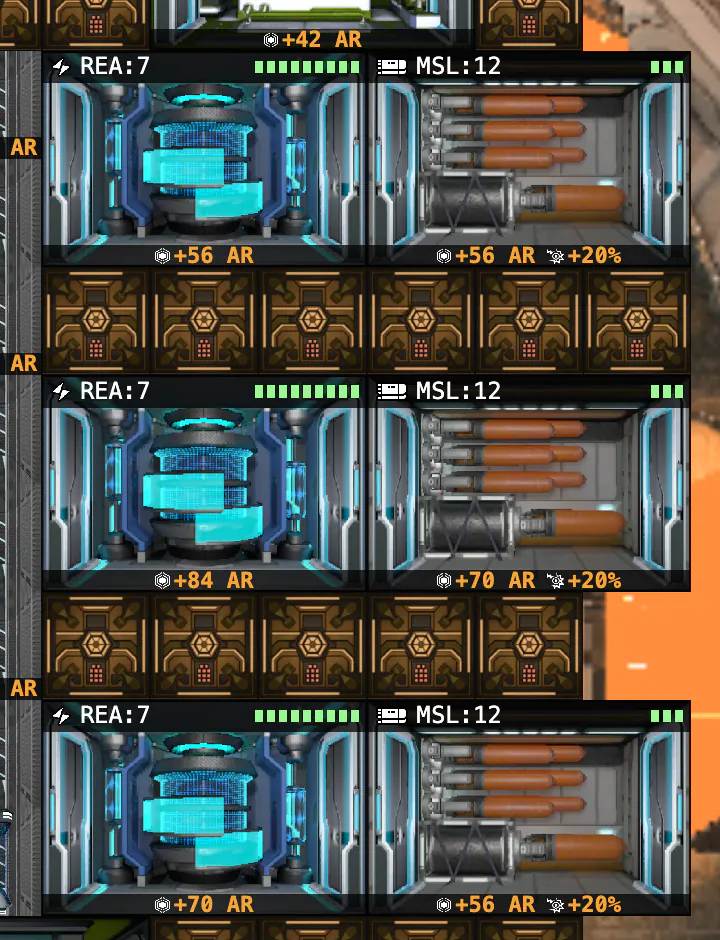
| Weapon | open space in front of it | +10% damage |
| Weapon | a reactor behind it | +10% damage |
| Two missile launchers | one above the other | the launchers fire 5% more often |
| Engine | open space behind it | +10% evasion from that engine |
A single touching cell is enough for a neighbour. Open space means only the space beyond the edge of the hull; your own empty cell doesn't count. Bonuses of the same kind add up, so put your strongest weapon at the hull edge with space in front and a reactor behind it: together that is +20% damage.
The ship builder shows the combos of every room in your layout.
Engines and the Bridge
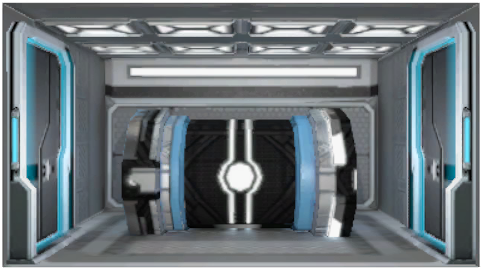 Engines give the ship evasion: part of the enemy's shots fly past. An engine's evasion depends on its level (8% at level 1, 21% at level 9) and on power; an unpowered engine gives nothing. Crew with ENG in an engine raise its evasion, and the evasion of all engines adds up. The engine room itself has no protection of its own, so place it next to armor.
The 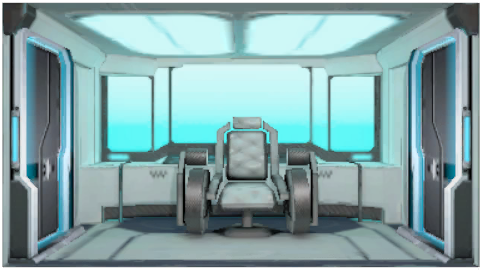 Bridge does the opposite: it gives your weapons accuracy and cancels the enemy's evasion.
Evasion doesn't save you from everything. The most accurate weapons (Laser Blaster, Railgun, Photon Phaser, Gattling Laser, mining lasers) barely notice it, so engines protect you mostly from missiles and ordinary shots. And a room under EMP gets hit by everything.
Lifts and routes
Crew move between decks by Lift, and between neighbouring rooms they can pass through a 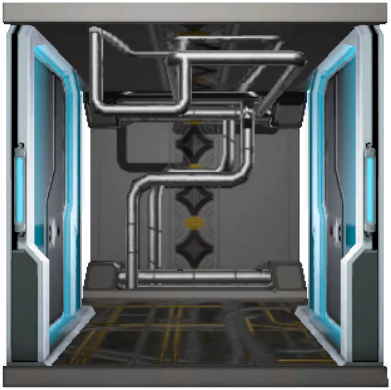 Service Vent. The shorter the route, the sooner a repairer reaches the damage and a defender reaches the boarder. So build at least two lifts in different parts of the ship, and keep rooms that the same crew member runs between close together: for example, a weapon that needs SCI next to the shield. Reactors, on the other hand, should be spread across the ship so boarders can't take them all in one run.
Ready-made layouts by other players are in the gallery, and every room with all its levels is in the room database.
Weapons and battle
The winner isn't the strongest weapon but the right combination, because damage comes in different kinds:
| Damage | What it does |
|---|---|
| Shield | takes down the shield |
| Physical | destroys rooms, the excess goes into the hull |
| Armor piercing | like physical, but armor reduces it half as much |
| EMP | shuts a room down: it doesn't fire, its reload pauses, and everything hits it |
| Bio | damages the crew in the room |
| Fire | sets the room on fire, and the fire burns the crew and the room itself |
| Cold | stops crew |
| Hull | hits the ship's HP directly |
Shield
While the shield holds, cannons and beams hit only the shield. Missiles and bombs fly straight through it, the shield doesn't stop them. That is why a combination usually has a weapon that takes the shield down fast (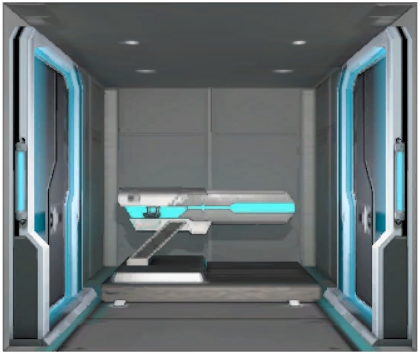 Photon Phaser,
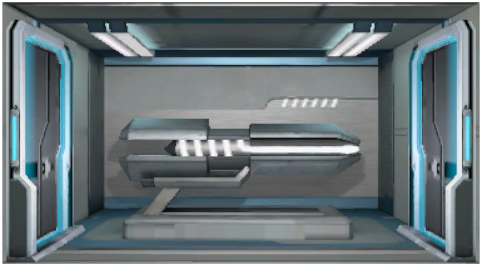 Photon Disruptor) and a weapon that destroys rooms once it is down.
Weapons in the game
| Weapon | From Ship Level | Damage | What it's good for |
|---|---|---|---|
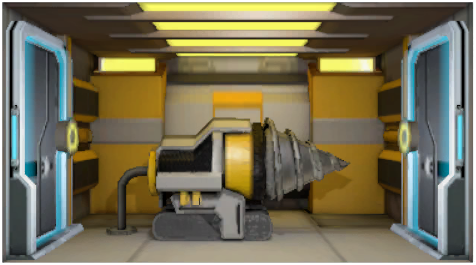 Mineral Mining Laser |
1 | physical, shield | very accurate |
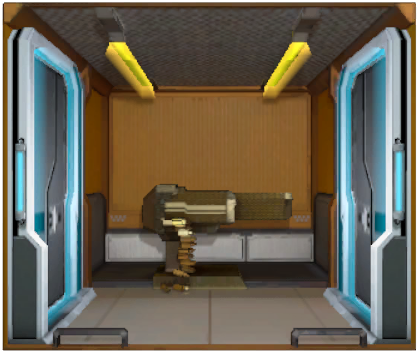 Small Phaser |
1 | physical, shield | cheap from the very start |
| Faction turret | 2 | physical, shield, a little bio | each faction has its own |
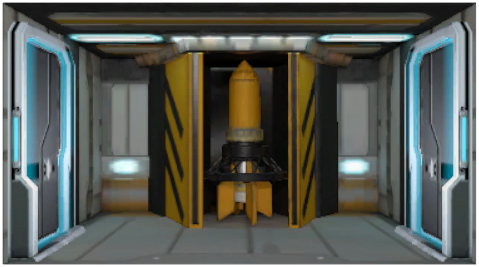 Missile Launcher |
3 | depends on the missile | missiles pass the shield, choice of ammo |
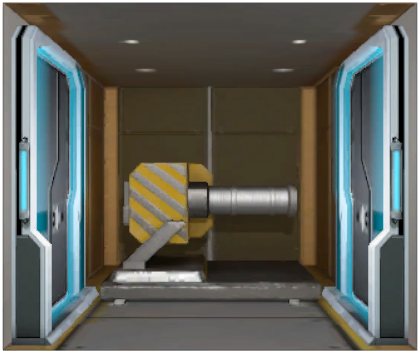 Minigun |
5 | physical, shield | fires often |
| Photon Phaser |
5 | shield, EMP | the best shield breaker at mid levels |
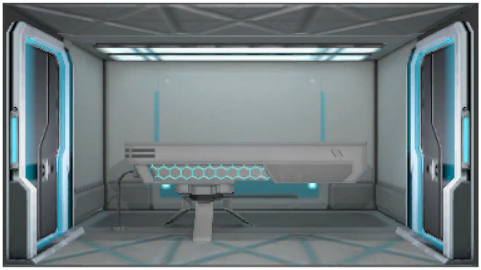 Plasma Discharger |
6 | physical, shield | |
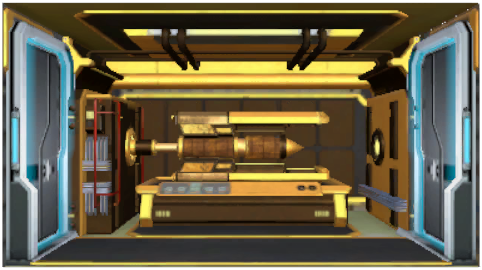 Laser Blaster |
8 | physical, shield | accurate, no travel time |
| Photon Disruptor |
8 | shield, EMP, physical | shield damage and constant EMP |
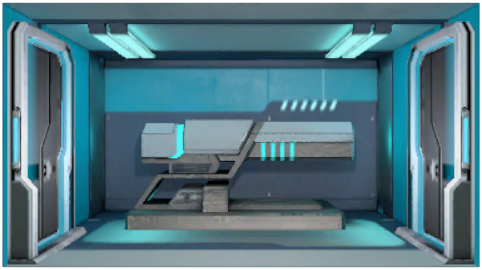 Railgun |
8 | armor piercing, shield | against armor |
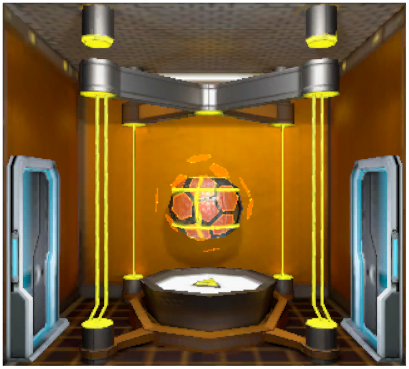 Bomb Launcher |
9 | physical | bombs pass the shield |
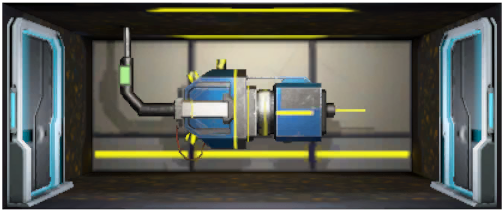 EMP Cannon |
10 | EMP | shuts rooms down |
Besides weapons, damage comes from a 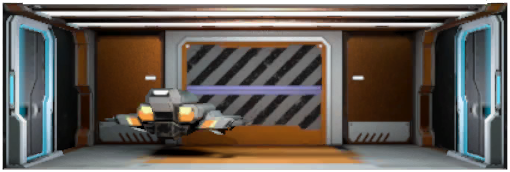 Hangar with its drones (from level 6) and from boarders sent through the
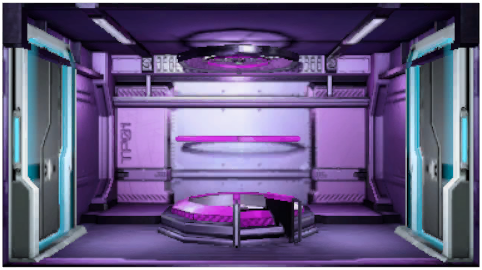 Teleport. Against drones you build an Anti Craft Laser.
Missiles
A Missile Launcher fires whatever you loaded into it:
| Missile | Damage |
|---|---|
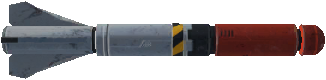 Rocket |
physical |
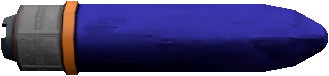 Javelin |
armor piercing |
 Scarlet |
fire |
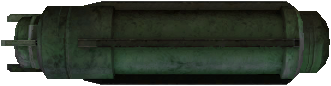 Jungler |
bio |
 EMP Missile |
EMP |
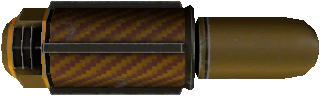 Penetrator |
straight into the hull |
Each volley uses one missile. Once the ammo runs out the room stops firing, and it is refilled only outside battle, so check what your launchers are loaded with before a fight. Until you know which missile suits which enemy, load ordinary Rockets.
How many weapons can hit one room
No more of your weapon rooms can fire at one enemy room at a time than that room is cells wide. A target two cells wide takes fire from at most two weapons, and the rest move on to the next target in their AI. That is why AI targets are written as a list rather than a single line.
How opponents are matched
The game matches you by Ship Level. Below Ship Level 7 your opponent is never higher level than you, and the lower bound is about 40% below your level: at level 6 you meet ships of levels 4 to 6. From level 7 an opponent can be up to two levels higher, and at level 10 you face ships of levels 6 to 10.
The search itself costs Minerals, but passing on an opponent is free: Keep Looking cancels the battle with no defeat and no trophy loss.
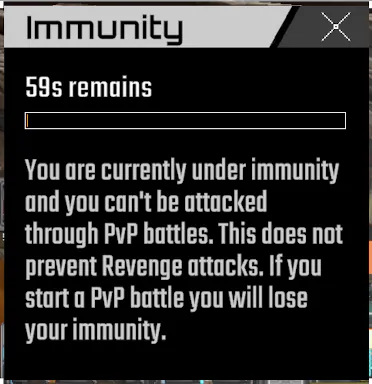
You can't always be attacked either. After someone attacks you, you get Immunity for a while and drop out of other players' searches. Immunity doesn't protect you from Revenge attacks, and starting a PvP battle yourself ends it.
Trophies and leagues
Every PvP battle wins or loses trophies, and trophies decide your league. While you have fewer than 1,200, you play in the Amateur league of your Ship Level. From 1,200 trophies the competitive leagues begin: Bronze, Silver, Gold and Diamond, each split into C, B and A, then Champions from 4,200 and Legendary from 5,000. Your league is fixed for the whole season: the trophies you win or lose now decide where you play in the next one.
How many trophies a battle is worth depends on the gap between you and your opponent, and opponents can come from other leagues. Beat a ship with far fewer trophies and you get 1, lose to it and you give up 40. So a much weaker opponent is a poor deal for trophies: if you aren't sure of the win, Keep Looking costs you nothing. The one exception is Legendary: its players get no trophies from battles against anyone outside the Legendary league.
A league season lasts from two days in the first Amateur leagues to a month in the top ones. When it ends, the best players of the league get prizes: Training Points in the Amateur leagues, Starbux from Bronze to Diamond, Doves at the very top. Every league also adds its own bonus of Minerals and Gas to battle rewards, from 10 Minerals in the first league to 50,000 of each in Legendary, so climbing pays off in every battle. The opponent search costs more the higher the league.
The battle replay
Lost? Watch the replay. Almost every defeat comes down to one or two rooms the enemy knocked out first, and the replay shows which. You can work out the damage, reload and shield of your weapons with a given crew in advance in the DPS planner.
Crew
Crew in Pixel Starships 2 aren't generic fighters, they are specialists. Each one's strength comes from three things: stats, ability, and the room you put them in.
Stats
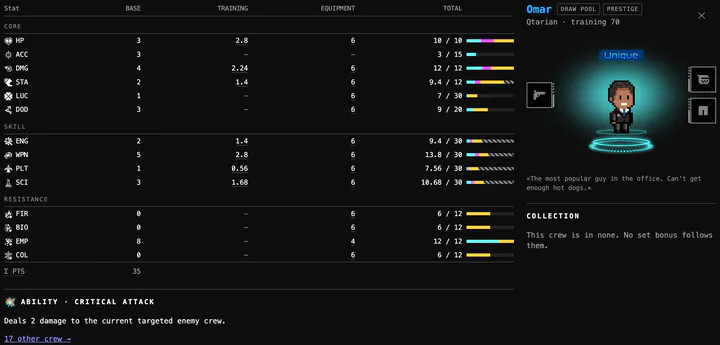
Crew have fourteen stats, and ten of them matter to a new player:
| Stat | What it does | Per point | Cap |
|---|---|---|---|
 HP |
health | 1 HP | 12 |
 DMG |
crew damage in melee | 0.2 damage per hit | 2.4 per hit |
 STA |
running stamina (running is twice as fast as walking) | 10 s | 120 s |
 ACC |
accuracy in crew combat | 20% | 300% |
 DOD |
dodge in crew combat | 10% | 200% |
 LUC |
a random damage bonus | +5% on average | 300% |
 WPN |
weapon room damage | +2% | 60% |
 ENG |
repair and firefighting speed: 6 s between repairs | 0.25 s shorter | 1 s (20 points) |
 PLT |
hangar efficiency | +2% | 60% |
 SCI |
shield and photon weapon efficiency | +2% | 60% |
The other four,  FIR,
 BIO,
 COL and
 EMP, are elemental resistances, covered in the abilities chapter.
Every crew member has 2 more HP than the radar on their card shows. These hidden 2 HP are the same for everyone, and training multiplies them along with the rest.
The most important part of this table is the cap: 12 HP and 2.4 DMG. Anything the base, training and equipment add above that doesn't count, and many crew hit the cap with their base and good equipment alone.
In melee a crew member strikes once every three seconds, with a weapon or without one. The defender's dodge is subtracted from the attacker's accuracy: if accuracy is no higher than dodge, the strike almost always misses, and at a difference of 100% or more every strike lands. A weapon in a crew member's hands doesn't add damage on top, it multiplies DMG, but the 2.4 cap still applies after the multiplier.
Rarity
Rarity is the colour of the crew's frame. It sets base stats and training capacity (explained in the training chapter):
| Rarity | Training capacity |
|---|---|
| Common | 50% |
| Elite | 60% |
| Unique | 70% |
| Epic | 80% |
| Hero | 90% |
| Special | 100% |
| Legendary | 110% |
Faction captains stand apart with 200%.
Higher rarity doesn't mean "better at every job". A Unique with the right ability is often more useful than a Hero without one.
Stars and ability
Stars have nothing to do with rarity. New crew arrive with empty stars, and every duplicate of the same crew merged into them fills one more. The ability appears at the second star.
How many stars a crew member can have is shown by the empty stars on their card. If there are only two, they will never have an ability, even with both filled.
Stars also unlock equipment slots, but which slots and at which star differs from crew to crew: the card on /crew shows it.
A crew member you got from prestige and one of the same name from the bar count as different crew and can't be merged.
Recruiting
The bar has two kinds of recruitment.
Common Recruit costs Minerals and gives Common, Elite or Unique crew. The first draw costs 100 Minerals, and after that the price depends not on how many draws you made but on how many crew of Elite rarity or higher you own: each of them makes a draw one and a half times more expensive (100, 150, 220, 330, 500, 750…). Common and Special crew don't affect the price. At the start, make 100 Common Recruit draws every day without fail.
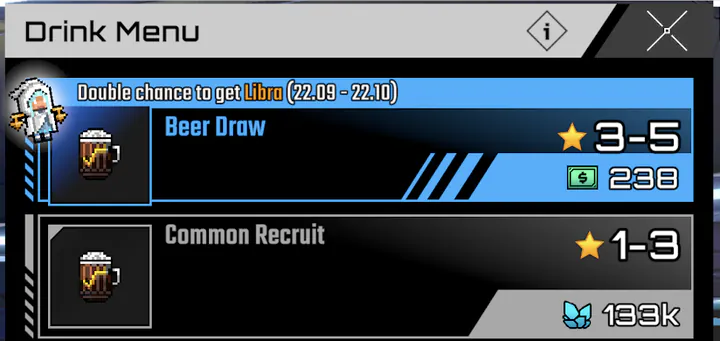
Beer Draw costs 250 Starbux, is unlocked by the Beer research and gives Unique, Epic or Hero crew. Don't spend your Starbux on it. Crew from the bar arrive with no stars, and unlocking their ability takes two more copies of the same crew, meaning the same luck three times over. The crew box odds calculator shows what one copy of a given crew costs in Starbux on average, and for a Hero it runs into tens of thousands. Your Starbux do far more as Drones.
Leveling
Every crew level costs Gas and brings one of two rewards.
On nine levels out of forty (2, 5, 10, 15 and every five after that up to 40) the game offers a choice of three random stats on the Select Bonus screen, and the one you pick gains a point. There are fourteen candidates: every stat, including ACC, DOD, LUC and the resistances, except those already at this crew member's cap. Take this choice seriously. The only way to change it later is a  Memory Eraser: it resets all the chosen stats, the crew keep their level, and you go through every milestone again, picking from new random sets of three. One Memory Eraser takes several days of farming, so at every milestone take the stat of the crew member's role, and if it isn't among the three, take the one that will help them in battle rather than whichever comes first.
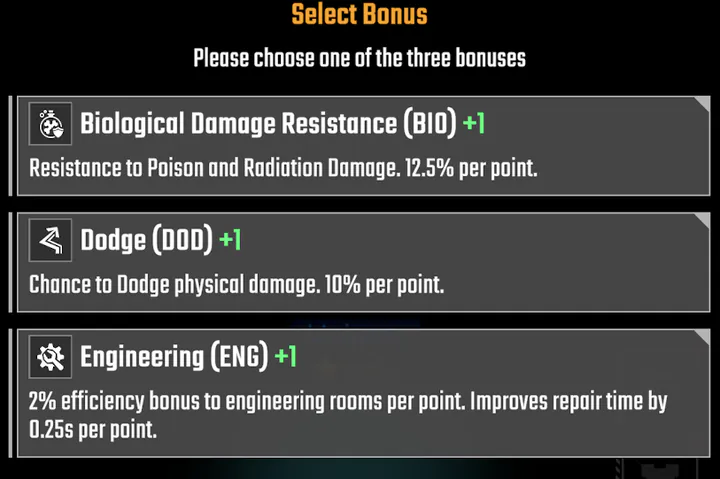
On each of the other thirty levels a crew member gives you a choice of  Training Points or
 Research Points. Training Points depend on the crew's base PLT, Research Points on their base SCI. The higher the base stat and the level, the more points. Only the base from the crew card counts, without training or equipment, and a crew member with no base at all gives one point. That makes crew with high base PLT or SCI worth leveling for this reason alone. If you don't know which to take, take whichever number is bigger.
The leveling cost calculator shows how much Gas it takes to reach any level.
Sacrifice
You don't keep crew you don't need, you sacrifice them: the crew member is destroyed, and in return you get Minerals (Starbux for Epic and above) and item fragments. Common crew can be sacrificed right away; rarer crew need the  Crew Sacrifice I, II and III research.
Get rid of the Common and Elite crew from Common Recruit without regret. Every Elite you sacrifice also makes your next draw cheaper, because the price counts how many such crew are on your ship.
The main thing a sacrifice gives you is fragments of that very Memory Eraser; 9 fragments make one Memory Eraser. The chance of a fragment grows with the level, stars and rarity of the sacrificed crew. Crew who were trained also drop fragments of  Laxative, which resets training.
Don't rush to sacrifice every Common, though:  Receptionist. Her base SCI 5 and PLT 3 bring plenty of Research Points or Training Points as she levels, and nobody is better for farming Research Points and Training Points.
Sacrifice also gives prestige fragments, but those belong to the prestige chapter.
Roles
Every crew member needs one job, and their room, equipment and training are chosen for it:
| Role | Where they sit | What to train |
|---|---|---|
| Gunner | a weapon room | WPN |
| Scientist | the shield, photon weapons | SCI |
| Engineer | reactors, leaving to repair | HP |
| Hangar pilot | the hangar | PLT and WPN: PLT for speed, WPN for damage |
| Boarder | flies to the enemy | HP and DMG |
| Defender | hangar, reactors, teleport | HP and DMG |
An engineer needs ENG, but training it is pointless: only ENG points from the base, levels and equipment speed up repairs, and training percentages don't affect them. The AI is what sends an engineer off to repair and brings them back (see the AI chapter).
Good crew to start with
All of these are Unique, so they come from both Common Recruit and the Beer Draw:
| Crew | Ability | What for |
|---|---|---|
 Office Exec |
 Rush Command |
speeds up weapon reloads |
 Omar |
 Critical Attack |
gunner (WPN 5) and defender |
 Red Ninja Male |
Critical Attack |
boarder, DMG 6 from the start |
 Mama |
 Healing Rain |
shield (SCI 5) or repairs (ENG 5) |
 Ribi |
 Stasis Shield |
makes a room untouchable for a while |
 Schrodinger |
 Ultra Dismantle |
boarder, wrecks a room together with its modules |
Factions have strong crew of their own too: Qtarian Engineers with Urgent Repair (ENG 6), Federation Marshals with First Aid (SCI 5 to 6).
The crew database lets you filter every crew member, with their stats and abilities, by role.
Fleets
From Ship Level 4 you can build the 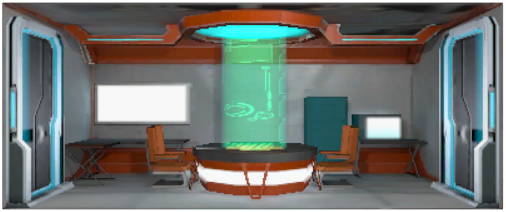 Fleet Council and create or join a fleet. Right now a fleet gives two things. Members put some of their crew at the fleet's disposal, and you can borrow them for your own ship: a strong crew member you don't have yet, ready to fight. A borrowed crew member comes without equipment, though, and you can't equip them: every slot, the weapon included, stays empty. Their AI you set up as usual. The second thing is people: players who have been through all of this answer questions and look at your layout and AI with a fresh eye, and that is worth a lot for a new captain.
The price is space. The Fleet Council is 2×4, eight cells that could hold a weapon, and you can't remove it while you are in a fleet.
Abilities
An ability often decides more than stats do. It is ready at the start of a battle and fires on its own through the AI: the crew member needs a Use Special Power line. A crew member under EMP, frozen or dead doesn't use their ability. Once the stun wears off it fires, and the cooldown isn't spent.
An ability's strength depends on one stat of the crew member. Rush, for example, always doubles the reload speed and lasts 2 seconds for every point of PLT.
| Ability | What it does | Strength | Who it suits |
|---|---|---|---|
| Rush Command |
the crew member's room reloads twice as fast | 2 s per PLT point | weapons, teleport |
| Critical Attack |
an instant hit on an enemy crew member | 2 damage per DMG point | defenders, boarders |
| Stasis Shield |
every shot at the room misses, but the room itself stops working | 1 s per SCI point | shield, teleport, hangar |
| Healing Rain |
heals every friendly crew member in the room | 2 HP per SCI point | defenders |
 First Aid |
heals the crew member | 3 HP per SCI point | boarders |
 Urgent Repair |
repairs the room | 1 per ENG point | repairers |
| Ultra Dismantle |
damages the room and all its modules | 1 per ENG point | boarders |
 Poison Gas |
damages every enemy in the room | 2 per BIO point | boarders |
 Cryo Blast |
stops the enemies in the room | 1 s per COL point | boarders, defenders |
 Arson |
sets the room on fire | 1 s per FIR point | boarders |
 EMP |
shuts down the room and stuns the crew in it | from EMP points | boarders |
 Teleport |
moves the crew member onto the enemy ship | boarders |
Every crew card on /crew shows the ability and its strength.
A few abilities have a catch. Two Rush in one room don't stack: a new one doesn't extend the old one, it replaces it and can even shorten it, so put your Rush crew in different rooms. Stasis Shield protects and switches off at the same time: a room in stasis doesn't fire or work, and EMP breaks through stasis. Fire from Arson burns every crew member in the room, yours included, so don't seat an arsonist with your own crew.
The FIR, BIO, COL and EMP resistances protect against their element and also strengthen abilities of that element. Each point removes 12.5% of the element's damage or duration, 8 points give full protection, and many crew already have EMP 8. With equipment a resistance can go past 100% (the cap is 150%), and then fire and bio damage don't hurt the crew member but heal them. A fire that kills enemy boarders will heal your crew member with FIR above 100%, and enemy Poison Gas will heal one with BIO above 100%.
The DPS planner shows how Rush changes the damage of a specific weapon.
AI
You don't steer your ship by hand in battle, the AI does everything. You write its rules in advance, and good rules often beat a stronger ship.
How the AI works
The AI is switched on by the Command Center; without it your rules don't run. A rule is a line of "condition → action". Every room that uses power and every crew member has lines, and the AI reviews them four times a second.
Lines fall into categories: power, target, ammo, special power, doors. The categories work independently and don't get in each other's way, so lines of different categories can be mixed. Within a category the AI goes from top to bottom, but the categories behave differently:
- in power the first line with a true condition runs, and nothing below it matters, which is why the None condition (always true) goes last;
- in target, ammo and special power a line with a true condition can still fail: the target is taken, there is no suitable missile, the ability isn't ready. Then the AI moves on to the next line, so the lines below act as fallbacks even if there is a None above them.
Some conditions and actions are unlocked by the  Python research. Level 1 gives the 50% thresholds, conditions about the hangar and enemy drones, and the choice of EMP, fire, cold and bio missiles. Level 2 adds the 25% and 75% thresholds, level 3 the conditions about crew in rooms.
Power
There is never as much power as you want, and a room that has nothing to do right now can be turned down to give its power to others. The classic example is an Anti Craft Laser that is needed only while enemy drones are in the air (requires Python 1):
| Condition | Action |
|---|---|
| Enemy Has Active Craft | Set Maximum Power |
| Enemy has no deployed craft(s) | Set Zero Power |
Be careful switching weapons off this way: Set Zero Power throws away the reload progress. That is why experienced players don't switch off a photon weapon that is needed only against the shield, they turn it down:
| Condition | Action |
|---|---|
| Enemy Ship has Shield | Set Maximum Power |
| None | Set Power To 1 |
The shield, on the other hand, gets a single line:
| Condition | Action |
|---|---|
| None | Set Maximum Power |
It keeps the shield at full power all the time.
Targets
A target takes a pair: the condition names enemy rooms, and the Target Condition Room action aims at one of them. If the matching room is already taken (as many weapons fire at it as it is cells wide) or destroyed, the AI moves to the next line. Once the AI picks a target, it doesn't switch while that target still fits.
Strong players most often start by finishing off a damaged room and then list targets by importance:
| Condition | Action |
|---|---|
| Any Enemy Room HP < 100% | Target Condition Room |
| Enemy Shield Room HP > 0% | Target Condition Room |
| Enemy Reactor HP > 0% | Target Condition Room |
| Enemy Laser HP > 0% | Target Condition Room |
| None | Target Random Enemy Room |
For specific targets there are also ready-made actions that need no condition, such as Target Enemy Shield Room or Target Enemy AntiCraft Room.
Repairs
A crew member repairs the room they stand in. This is the repairer rule that most strong players use almost unchanged:
| Condition | Action |
|---|---|
| Current Room HP < 100% | Target Current Room |
| Friendly Room HP < 100% | Target Condition Room |
| None | Target Origin Room |
The first line keeps the repairer in the room until it is fixed, the second sends them to the next damaged room, the third brings them back to their post. With Python, Friendly Room HP < 100% becomes a 75%, 50% or 25% threshold: crew from other rooms then drop their work to repair only when things get bad.
Special power
The simplest special power line is None → Use Special Power, and almost everyone has it. A condition can hold the ability back: a healer with First Aid, for example, gets Current HP < 25% (requires Python 2), so the heal isn't wasted on a scratch.
The AI planner lets you build and check rules with the same conditions and actions as the game, with an explanation for each, and the full list is on /ai/commands.
Training
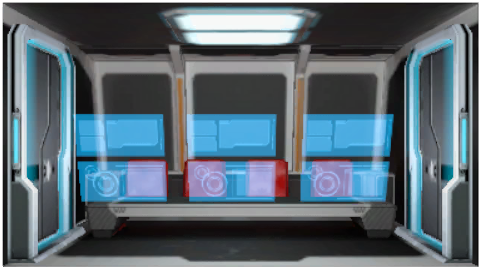
Training capacity is spent only once, so plan it before the first course. You don't have to wait for the late game: some good courses open almost right away, and the 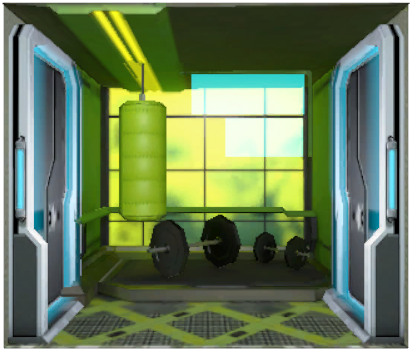 Gym and
 Academy don't need their top level to run them. The training planner shows which courses your ship opens and what each of them gives a specific crew member. Pick the set there first, then train.
Training capacity depends on rarity (see the table in the crew chapter). Each course adds percentages to a stat, and often a little to one or two others, and takes them out of the capacity. The bonus a course lists is the most it can give: the fuller the capacity and the higher the stat already is, the less a course usually brings. So the last percent of a stat cost the most, and part of the capacity always goes into the course's side stats.
Every percent of training in a stat adds 1% to the points of that stat, to the base and to the level points. Equipment isn't multiplied by training. Two things follow. If a crew member has zero points in a stat, training it gives nothing: zero times any percentage is still zero. And if a stat is already at its cap with equipment, as HP and DMG are for many crew, the training above the cap is wasted.
Seven stats can be trained: HP, DMG, STA, ENG, WPN, PLT, SCI. DOD, LUC and the resistances grow only from milestones and equipment, and ACC only from milestones: there is no equipment for it. What each role should train is in the roles table.
Fatigue
Training also tires crew. The game doesn't show fatigue anywhere, but a tired crew member gets less out of every course. The longer the course, the more tired the crew member gets, and the fatigue wears off with rest after the course ends.
When you pick courses:
- Compare courses by Training Points per point of the stat, not by the size of the bonus. For WPN a 45-minute course costs 150 Training Points for WPN 4, a 3-hour one 800 for WPN 8: the short course is more than twice as cheap per point.
- When a course starts bringing noticeably less, spend your Training Points on another stat or another crew member.
Laxative
Spent capacity doesn't come back on its own. The only way to get it back is a Laxative: it resets all of a crew member's training without touching their level. It is made from 9  Laxative Fragments, which drop when you sacrifice trained crew, and it isn't sold on the market, so save it for a crew member you are keeping for good.
Boarding and defending against it
Boarders fight inside the enemy ship: they kill crew and wreck rooms. Against strong boarding your regular weapons won't help; you need defences inside the ship.
How to get onto another ship
The main way is the Teleport room, built from Ship Level 5, which sends crew from inside it onto the enemy ship. A crew member with the Teleport ability moves on their own, but only if your ship has a Teleport room and the crew member could walk to it: they don't have to go there, the way just has to be open. Pirates also get the Boarding Pod at level 10, a capsule full of boarders.
On board, a boarder hits the crew and the room they stand in. They can disarm mines in the room if they have SCI. Turrets and barriers can't be disarmed; they have to be destroyed by attacking the room.
Telerush
A telerush is a mass landing through the teleport. Boarders go for the rooms a ship can't fight without: reactors (a ship without power doesn't fire and doesn't hold a shield), the shield, the main weapons. A boarder needs HP and DMG at their caps, an ability ( Critical Attack, Poison Gas or Ultra Dismantle) and HP and DMG equipment. Sending crew without an unlocked ability is pointless. From the starting list, Red Ninja Male and Schrodinger fit.
Land your boarders one at a time in a planned order: the first breaks the defences, the next ones take the rooms you are after. If the first one dies at the door, the replay shows who killed them and how.
Defending against boarders
Look at your ship through the enemy's eyes: where will they land first and what will meet them there. Defence is built in layers, each covering the gaps of the one before:
- Defenders. Crew with Critical Attack in the reactors, hangar and teleport kill a boarder before they can use their ability. A boarder in an empty reactor wrecks it unopposed.
- Room modules. Turrets fire while an enemy is in the room, mines hit whoever walks in, and barriers make the room last longer (see Room modules in the ship chapter).
- Security. A
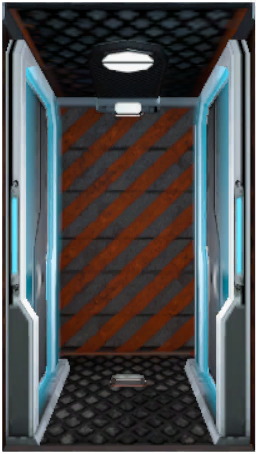 Security Gate (from level 5) blocks the way and holds boarders up.
- Stasis Shield. A crew member with stasis can seal off the teleport or a reactor for a while.
- Spread-out reactors that one boarder can't take all at once.
After losing to boarders, watch the replay and close the spot the enemy came through.
Prestige
Prestige merges two leveled crew into one of higher rarity. It unlocks late, at Ship Level 10, but you should prepare for it from your first weeks.
How it works
You need the  Prestige research, which requires a level 8 Laboratory, that is a level 10 ship, and the research itself takes 8 days. Two crew of level 40 and the same rarity merge into one crew of the next rarity: Elite + Elite give Unique, Unique + Unique give Epic, Epic + Epic give Hero, Hero + Hero give Legendary. Both original crew disappear, and the new one's stars equal the average of the parents' stars rounded down. That is why level 40 crew aren't sacrificed: prestige gets more out of them. The prestige planner shows which crew a pair can produce.
Every merge needs a prestige item of the rarity you are making: Unique + Unique need an  Epic Prestige.
Where prestige items come from
Prestige items can't be bought or sold, only mined. Prestige fragments drop from the Gene Harvesting mission on the planet Vespera, available from Ship Level 3. One Drone run lasts 3.5 hours, and a single run can drop several fragments of different rarities.
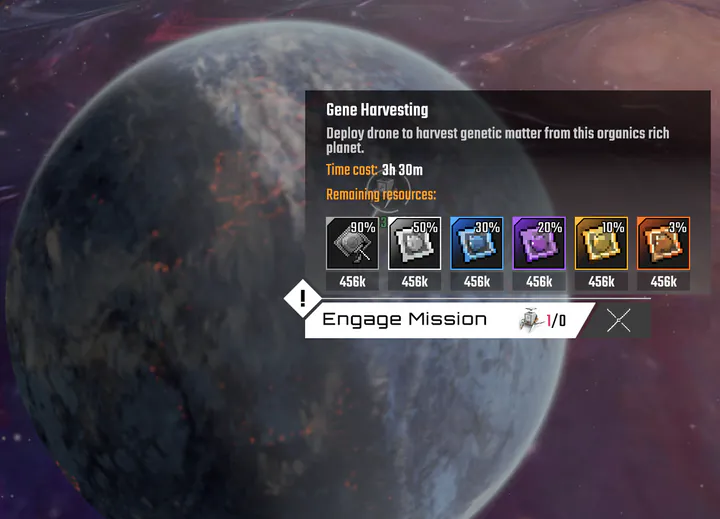
9 fragments make a prestige item, and 9 items make an item of the next tier.
The rarest fragments drop rarely: one high-tier item takes weeks of non-stop mining. That is why one Drone is always on Gene Harvesting, and by level 10 you will have a stockpile rather than an empty hold. The Gene Harvesting panel in the prestige planner works out how many days you will wait for the item you need.
Sacrifice also gives a prestige fragment of the crew's own rarity, but don't count on it. A level 20 Common with one star gives a fragment about half the time, and leveling it costs more than one and a half million Gas. A Drone on Vespera rolls six chances at once on every free run, from Common to Legendary.
That is the whole loop, from the first Common Recruit to a Legendary out of prestige. Nobody gets all of it right on the first try, and the game doesn't ask you to: a lost battle costs a few resources and shows you exactly where your ship is weak. Keep every Drone busy, level the crew you believe in, watch your replays, and each week your ship will be a little stronger than the one before. Good luck out there, captain.